We will talk about the selection of LED drivers. It seems that it is not difficult to select a driver, but it is indeed difficult to find a proper or suitable driver for an optimized light fixture product.
Actually there are multi-steps during the selection of drivers and please check those steps listed carefully if you would like to find the right one.
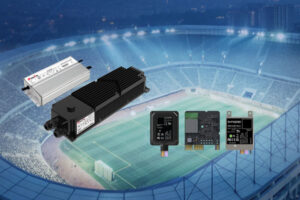
Step 1: Choose Application.
The first step is that we have to understand whether you are looking for an outdoor driver or indoor driver. An outdoor driver does not mean you can only use it outside the house, normally it refers the IP66 or above waterproof rating, and 2kV differential mode 4kV common mode surge protection rating. And outdoor drivers are often used in bay lights and explosion-proof lights, while indoor drivers can also be used for outdoor applications if the lights are sealed well with good surge protection. However, outdoor and indoor are still the most commonly used words to identify the light applications.

Step 2: Choose the right power rating
The second step is to choose the right power rating, for LED lights, the power rating always refers to the input power, while for LED drivers, it refers to the output power, which is output current multiplied by maximum output voltage. You only have to make sure the power you choose is larger than the maximum LED load power.
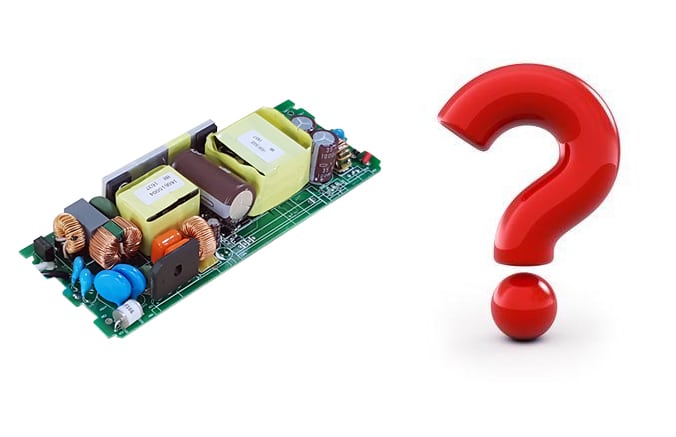
Step 3:Choose the right current
The third step is the very key step which is normally determined by what kind of LED chip you select and the best position you would like it to operate. In many of the cases, you may not be able to find the current you want in the driver model list. Then you have two choices, the first one is to find the most close one in the model list and the other one is to contact with the driver manufacturer asking them to provide the model you want. Each of both has its pros and cons. To choose the standard product, it is quick and direct, but you lose some light performance. To choose the customized current, you might have to wait for some time and have the best final product. Either of them may not be right or wrong, it is just determined by different situations of the light manufacturers and their market positioning strategy.
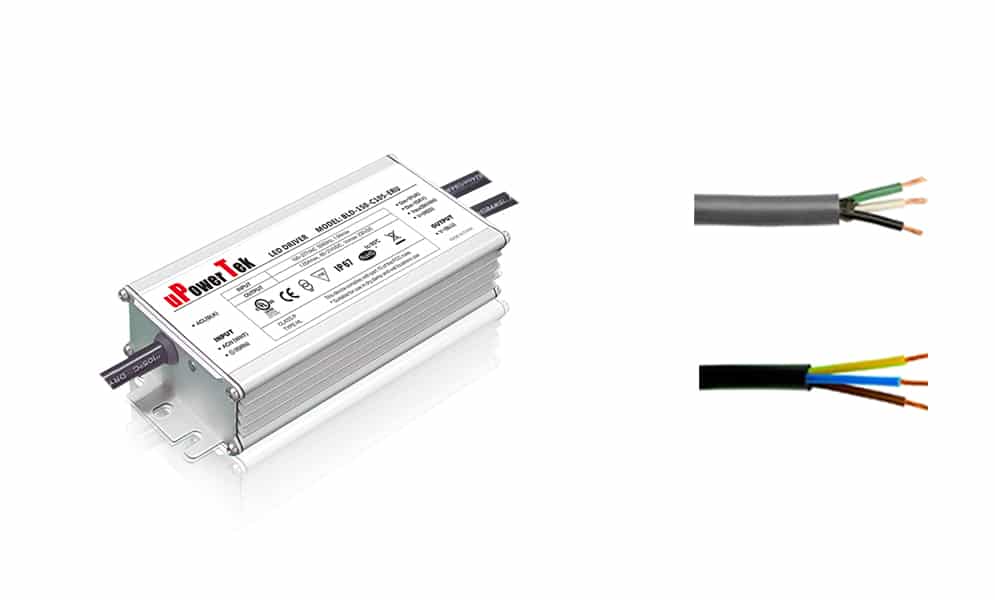
Step 4: Choose the right cable
The fourth step is the cable selection. It is very clear that North American market has to use the UL cables most of which are with PVC jacket, while in the other areas of the world, the VDE cables with rubber jacket are often chosen. Here you should know that UL cables can be accepted not only in North American, but also all over the world, but it is not allowed to be used for independent drivers according to CE standards. Pay attention that in the IEC standards, there is class II device which does not have the ground connection. Also when you have some connectors with the cable, please be careful of the certifications those connectors have. The connectors with UL are normally very expensive and you might consider using a junction box to make the connections in North American.
 Step 5: Choose the right certification
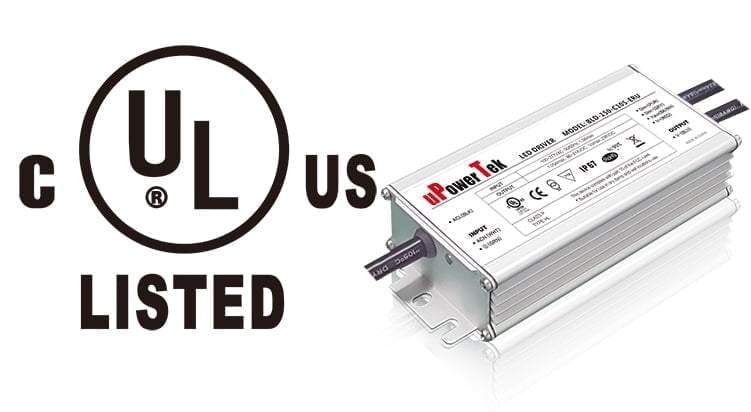
Talking about the certification, you also have to check if the drivers have the certifications for your market. UL and FCC are needed for North American market, and CE is at least needed in other areas while ENEC is often regarded as the best one in those areas. Also CB is a very important certification since it can be turned to KC, PSE, SAA by minor fee quickly. In North American, having the class 2 rated can make the light design simplified for the light designers. And SELV is something like that in other areas of the world.
 Step 6: Choose the dimming method
The next step is normally not easy for light engineers because most of them are the expertise of lighting or mechanics, rather than electronics and control. You have to understand whether you need a dimming function and how you realize it, by 0-10V, DALI or PWM. And each of the control protocols has the pros and cons, while you have to understand whether your project is a brand new one or a retrofit, and you have to know the dimming interface well when you use it. We will talk about them in another article and give you some ideas.
Now you have already finished the electrical design, and is that an end? No, you have to make sure that you can get the samples, final products, quotation, good warranty and support. So the following steps are even more important before you make decision.
Step 7: Verify the samples
Next you need to get the samples and get them verified in your light system design. Normally I would suggest ordering sample twice. The first time is 2-3 pcs, not single piece. By multi-pieces, you can understand more about the consistency of the driver, and you can judge whether it is just a single abnormal situation or a product defect. After the samples pass the electrical performance qualification test, you might order more pieces for reliability test in a pilot run. Different companies have different ways to do the pilot run, but we would suggest over 50pcs for single run. Also you need to ask for the delivery time of the products at your volume size, which is also important for the driver manufacturers to understand the information so as to prepare the production well. If the lead time of the product delivery is long, the product may not be very competitive.
Step 8: Check the quality and service
Till now, you are almost able to decide whether the driver is worth purchasing, but don’t forget to check the warranty, evaluate the customer service and the capability of understanding the customer requirement of your vendor. That is also very important during and after your trade is made.
The business activity of uPowerTek is strictly according to those steps, and we try to make every step well together with you. We try to fully understand your requirements and bring you the most suitable solution. Hope we can be good friends, thank you for watching and have a good day. You can find more quality products here.
If you would like to learn by a video, we found one for your reference.